If you need to repair multiple video or audio files, follow these simple steps:
Step 1
Sign up for a free account at Restore.Media.
Step 2
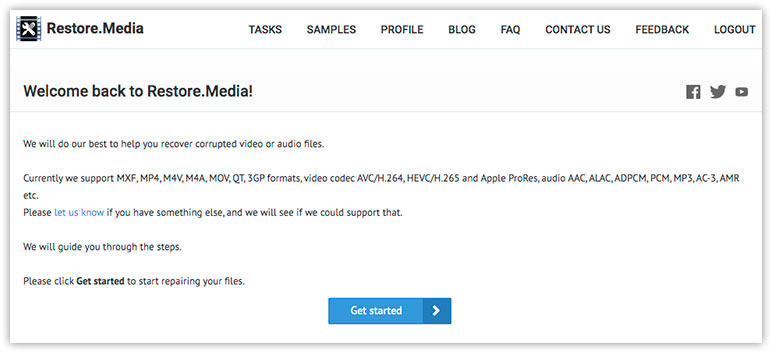
On the welcome screen, click Get Started.
Step 3
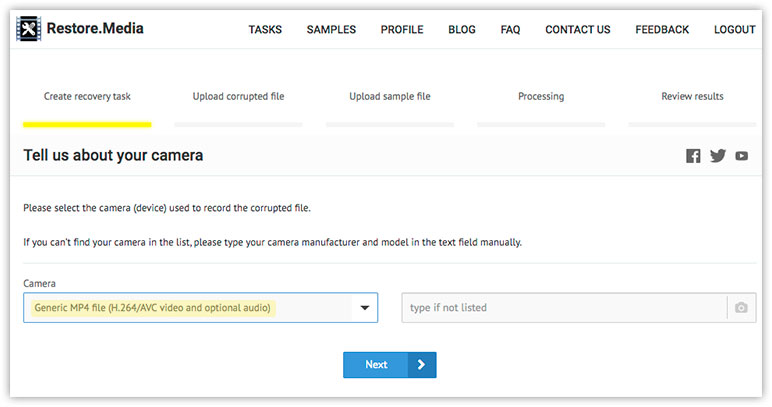
In the Camera selector, choose the camera model used to record corrupted video files and click Next.
If you can't find your camera in the list, please type it manually in the text field next to the selector.
If you don't know what camera (device) was used to record the video files, choose an appropriate file type instead. For example, Generic MP4 file (H.264/AVC video and optional audio).
Step 4
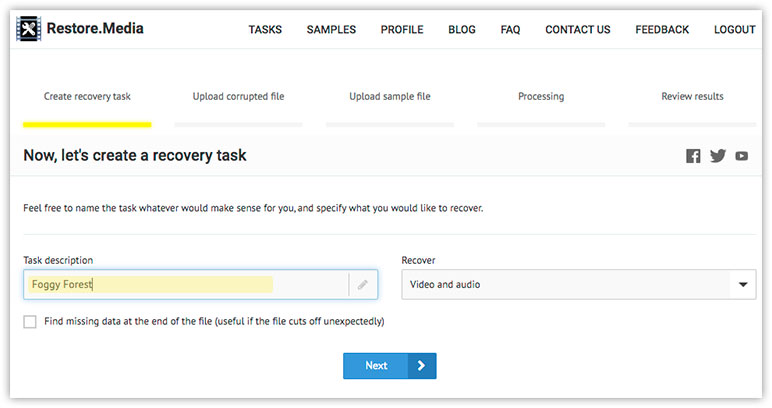
Now, create a recovery task. Feel free to name the recovery task whatever would make sense for you:
Step 5
Upload one of your corrupted video files:
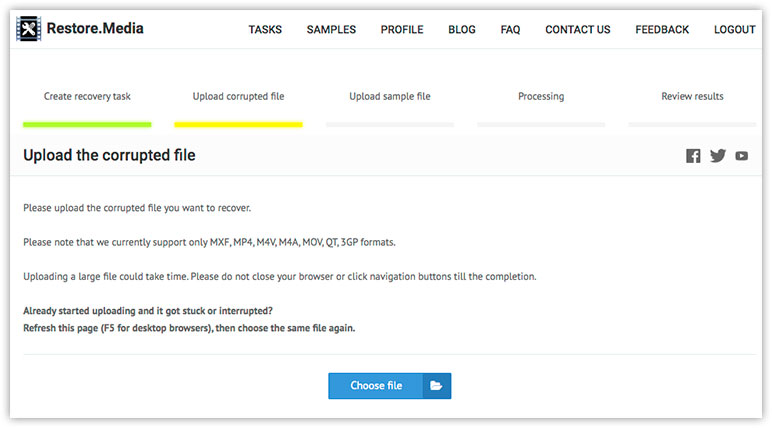
Note: you will be able to upload the rest of your broken video files during the next few steps.
Step 6
Sometimes Restore.Meida may need a sample file to be able to repair your video. If this is the case, you will see the following screen:
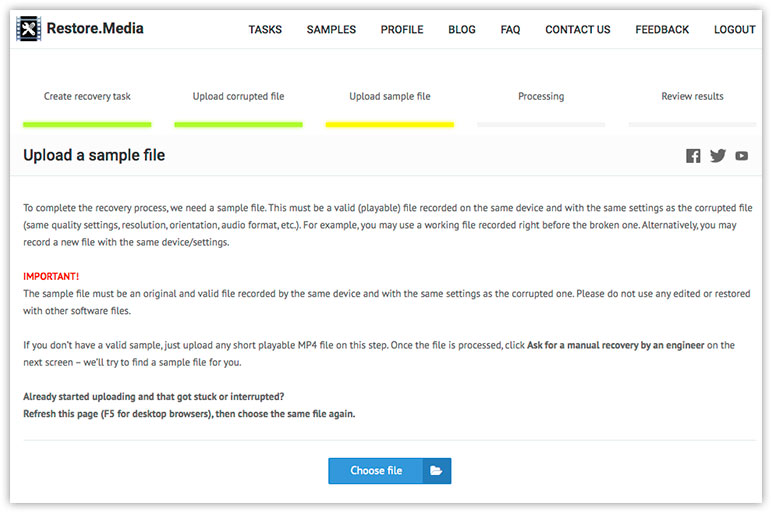
A sample file is a valid (playable) video recorded with the same camera and settings as your corrupted files. For example, you can take a valid video file recorded prior to the damaged files. Alternatively, you can record a new sample video of around 30 seconds long.
Important! Please make sure that the sample file is recorded with the same camera and settings (e.g. resolution, orientation, frame rate (FPS), etc.) as the corrupted files. Otherwise, your files won't be repaired properly.
If you don't have a sample file, just send us a message and we'll try to find an appropriate video file for you.
Step 7
Restore.Media will start repairing your corrupted video file automatically. Once finished, you will see one of the following messages:
- If the file has been fixed successfully, there will be several screenshots along with a full-time preview of the repaired video:
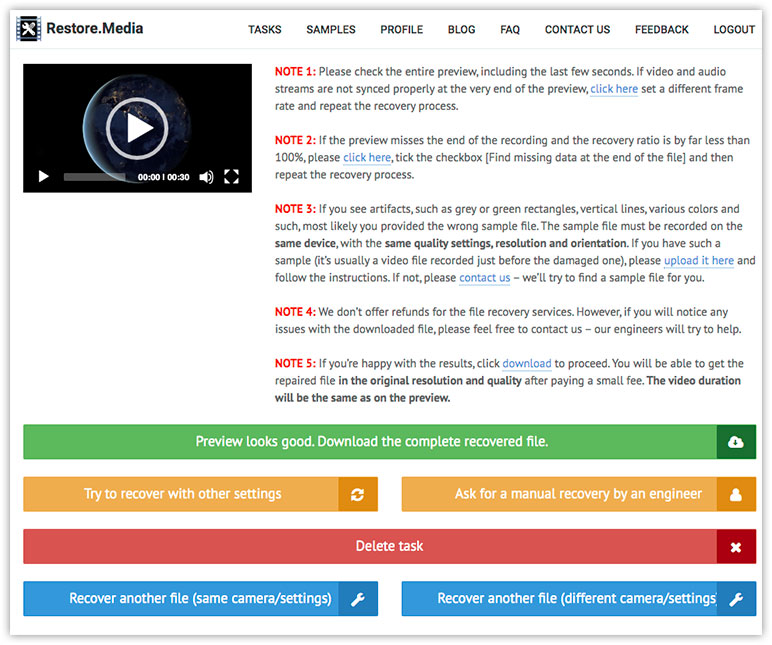
The preview is in low resolution and quality just so you can check if the video has been fixed. The screenshots are in the original resolution, taken from different parts of the video file.
Note: we recommend that you watch the entire preview of the repaired file, including the last few seconds. Sometimes it may seem that the video has been fixed, but the preview contains distortions, or the audio is not synced properly. If there is anything wrong with your video, please read notices next to the preview and follow appropriate instructions.
- If the file hasn't been recovered, you will see the following message:
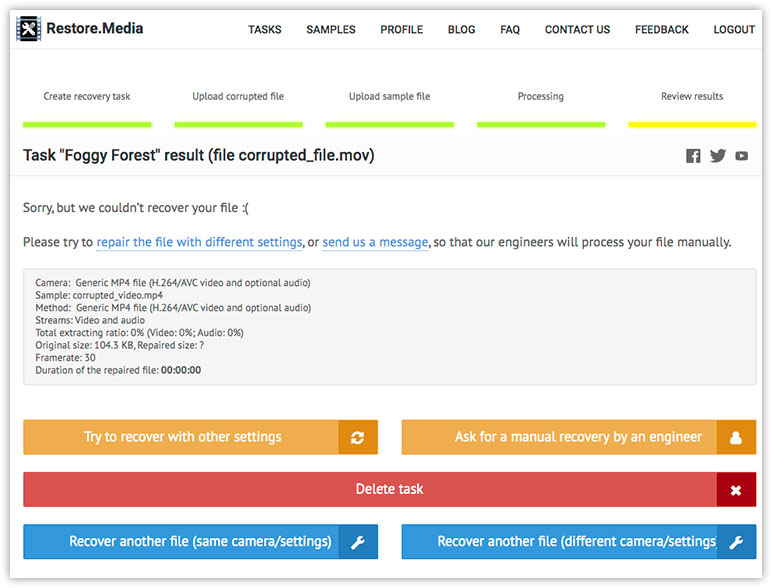
Here you have the option to click on the large yellow button Try to recover with other settings. This will let you change some of the recovery settings, upload another sample file and repeat the recovery process.
If this still doesn't help, click on the button Ask for a manual recovery by an engineer, so that we can review and try to fix your files by hand.
Important! Manual recovery implies that one of our engineers may need to watch / listen some of your files' media content to find the root of the problem and repair the files.
Step 8
Once you're sure that the preview of the repaired video looks fine, there are the following options:
- If there are no more corrupted video files that need to be repaired, click on the large green button Preview looks good. Download the complete recovered file. You will be able to download the repaired video file in the original resolution and quality after paying a small fee.
- If you have more corrupted video files recorded with the same camera/settings, and you want to fix them, click on the large blue button Recover another file (same camera/settings), and then follow the instructions.
- If you have more corrupted video files recorded with different camera/settings and you want to repair them, click on the large blue button Recover another file (different camera/settings), and then follow the instructions.
For each corrupted video file, you will need to repeat the steps described above.
Step 9
Once all of your corrupted video files are repaired, click Tasks in the header menu to review the list of the repaired files:
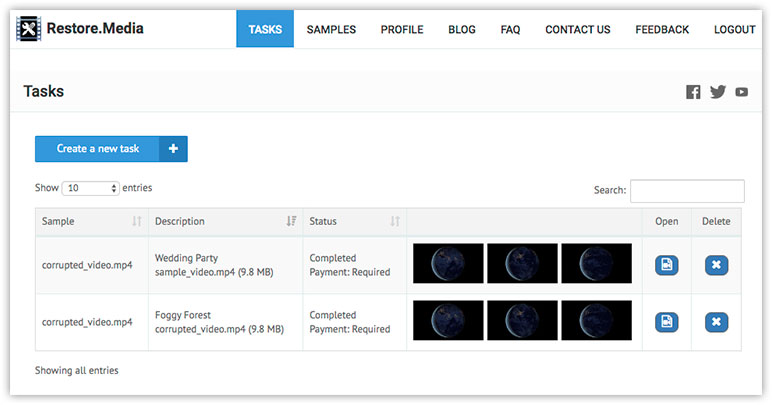
From here, you can download each individual file one by one. For this, click on the Open icon next to the file you want to download. A video preview page will open:
Now, click on the large green button Preview looks good. Download the complete recovered file. This will get you to the checkout page. After paying a small fee, you will be able to download the repaired file in the original resolution and quality.
To download the rest of the repaired files, please repeat the Step 9 for each of the file.
Note: We can offer discounts for clients who need to repair multiple files. Our prices depend on the size of the files and the complexity of the task. This is why we don't have a one-fits-all price. If you need to repair multiple files, please contact us, so that we can set up a discount for you!